The ball screw is a precision component. Handle it carefully to avoid impacts, drops, or contact with hard or sharp objects. Do not allow sharp tools or objects to contact or score the ball screw shaft surface.
Do not separate the ball nut from the ball screw shaft, and do not exceed the travel limit of the ball nut. Doing so will cause the recirculating balls inside the nut to fall out, which can damage the ball screw. If any balls fall out accidentally, do not attempt to reinsert them yourself, as this may damage the ball recirculation system and cause the nut to seize. Contact StepperOnline technical support for assistance or return the assembly for professional rework.
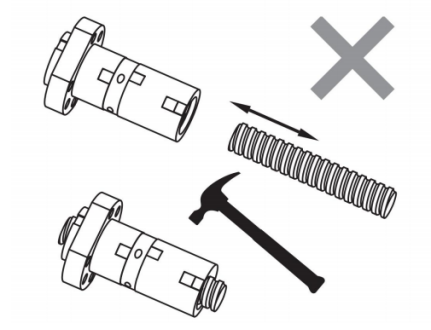
To remove or install the ball nut, follow the steps below to prevent the balls from falling out.
- Prepare an assembly sleeve
Before removing the ball nut, prepare an assembly sleeve (also called a dummy shaft or mandrel). The assembly sleeve is a cylindrical sleeve used to retain the recirculating balls during nut removal. Its outer diameter must be slightly smaller than the minor diameter of the ball screw shaft, and its length must be long enough to accommodate the full travel length of the ball nut.
- Disassembly or installation
a. Align the assembly sleeve with the end face of the ball screw shaft so that the sleeve sits flush against the shaft end with no gap between them. This ensures the balls can transfer smoothly from the screw thread to the sleeve.
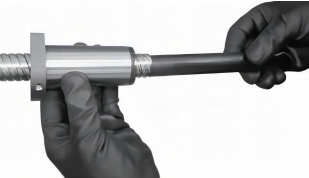
b. Thread the ball nut along the ball screw shaft and onto the assembly sleeve.
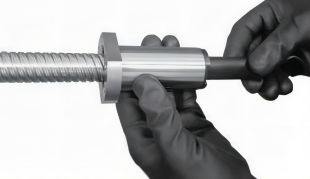
c. Thread the ball nut completely onto the assembly sleeve (or back onto the ball screw shaft).
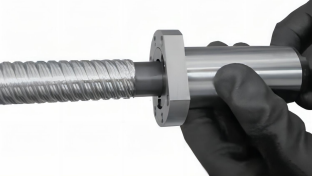
Note: The entire travel of the ball nut must be transferred onto the assembly sleeve or ball screw shaft before the assembly sleeve can be removed.