Step 1: Before installation, verify that the motor and gearbox are in good condition. If the motor has a shaft key, remove it. Carefully check that the dimensions of all mating parts match, paying particular attention to the motor pilot diameter, the gearbox input bore, and the fit tolerance.
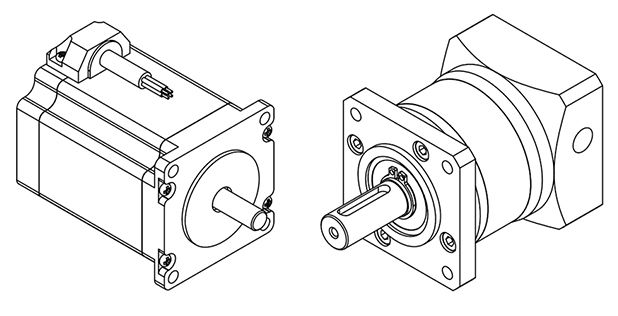
Step 2: Inspect the mating surfaces of the motor and gearbox for any foreign objects. Note that a small amount of rust-preventive oil may be present inside the gearbox; this is normal and will not affect installation or operation.
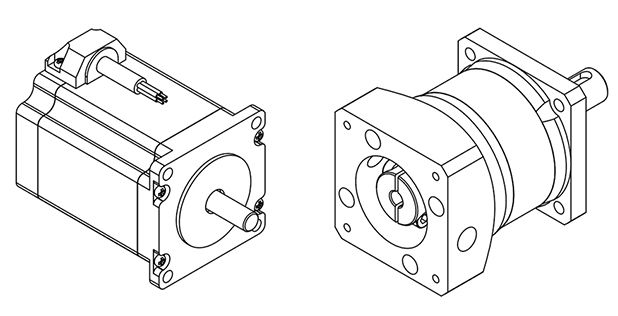
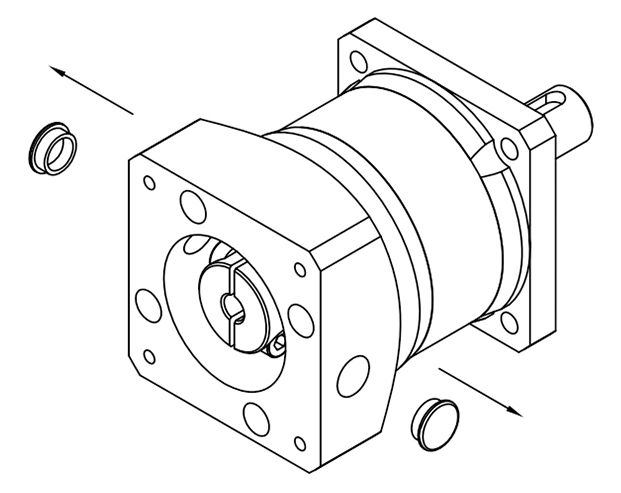
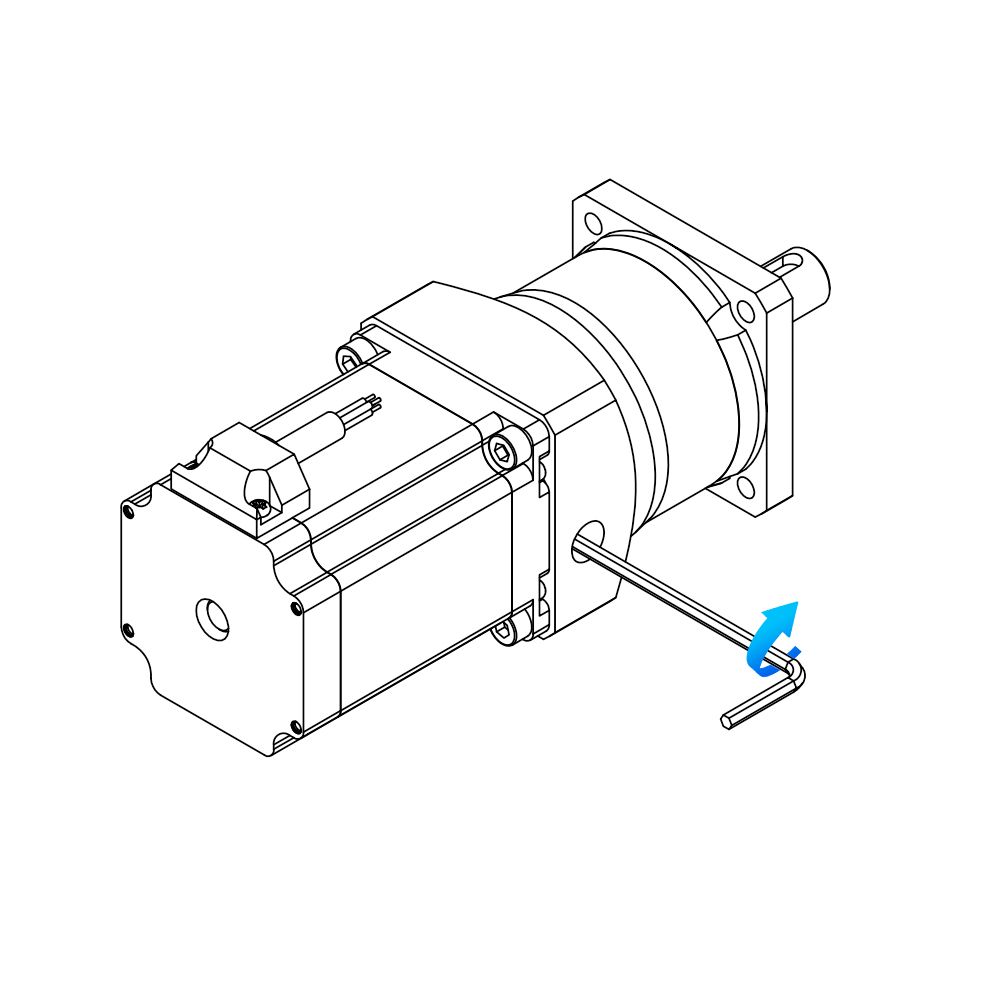
Step 3: Adjust the coupling on the input side of the gearbox so that the clamping screws align with the access holes on the input flange, allowing an Allen wrench to be inserted. If a dust cover is installed on an access hole, remove it before proceeding.
Step 4: Mate the motor to the gearbox. During assembly, ensure that the motor output shaft and the gearbox input shaft are coaxial (concentrically aligned) and that the mating flanges are parallel.
Note: Do not strike the gearbox or motor with a hammer or any other tool during installation. Excessive axial or radial forces can damage the bearings or gears inside the gearbox.
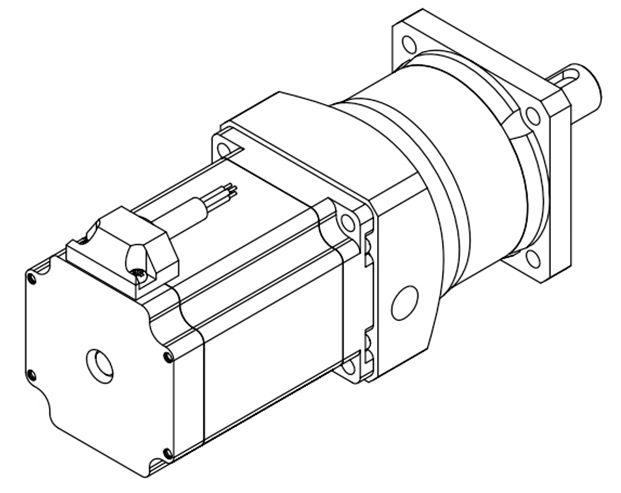
Step 5: Insert the mounting screws to join the motor and gearbox, but do not fully tighten them yet. To ensure even clamping and prevent misalignment or binding, tighten the screws in three stages:
- First, insert four mounting screws into the threaded holes, but do not tighten them.
- Then, lightly tighten the screws in a diagonal (cross) pattern.
- Finally, fully tighten all screws in a diagonal (cross) pattern to the specified torque.
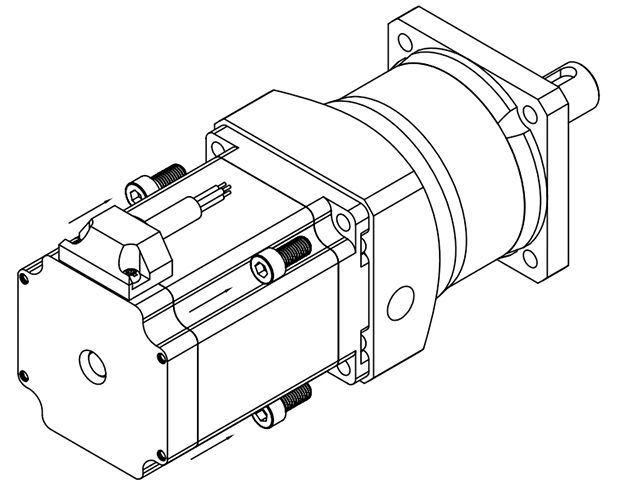
Step 6: Insert an Allen wrench through the access hole on the input flange and tighten the clamping screws on the input coupling. Tighten the screws alternately in two stages to ensure even clamping.
Step 7: Reinstall the dust covers on the access holes.